Maison EXT
By: Niknokinater
Our Rating:
Rate This:
Despite its many occupants over many years, this absent and aging house still stands.
Maison Ext is a variation of Maison, the reimagination of DS House from Call of Duty: Black Ops DS.
Maison Ext includes & actively supports Gobblegum, randomized perk & box spawns, and includes all 9 BO3 perks.
Niknokinater – Designer, Announcer
ApexModder – BO4 wooden barrier & BO3 Nacht stone barrier ports
Harrybo21 – Zapper trap
Kaizokuroof – Scripting aid
JBird32 – Additional traverse/animation prefabs
MiKey – Blacklist functions, scripting aid
NateSmith – Fancy text
NoobForLunch – Scripting aid
The Game Factory, Code Lyoko: Quest for Infinity (2007) –
OST “Combat contre le BOSS du Territoire de la Banquise” for boss sequence
TheSkyeLord – Call of Duty: World War II weapon & chalk ports
Treminaor, UGX – Ending script
CLAUSTROPHOBIA (2015, WAW)[drive.google.com]
RELIC (2015, WAW)[drive.google.com]
TERRARIUM (2019, BO3)
CODE LYOKO: EXPEDITION DEMO (2021, BO3)
As this is a custom map, notably one that’s been out for just over a month now and is interpretably past its prime, I write out a precise guide for both future players do not prefer to allocate too much time solving the map as well as revisiting players who may want to replay but do not prefer to scour for steps or resolve again.
If you do wish to solve blind, I encourage it especially if it is your first time. The easter egg has generally appeared to be well-received, which makes me very happy.
Firstly, I enjoyed watching as many videos as possible regarding Maison, reading comments- the interaction and positive response is the very life blood of modding. These things take patience and time to learn, design, and execute, and I am very thankful for the attention payed to this map.
Solid appreciation to those that solved Maison (not that it was super hard or anything). I was on the edge of my chair more than once and my smile was wide a multitude of instances.
Thank you for posting your guide, CoDZ.
Thanks to all who reported bugs- there were some real oofs hiding around.
General
A) Completing the EE ends the game.
B) 1-4 Players Required, solo-able, easiest with 2 players.
C) You’ll want to be rather conservative with points.
D) Prioritize Speed Cola and Double Tap– maybe even Double Tap before you proceed to the Attic.
E) Automatic weapons are super useful on this map.
F) It’s best to keep round progression to a near-minimum, as the egg requires round progression down the line independent of your typical progress.
G) The chalkboard in spawn will keep track of your progress by step.
H Only bullet-based weapons can damage the boss.
Keep these in mind.
Areas I Will Reference
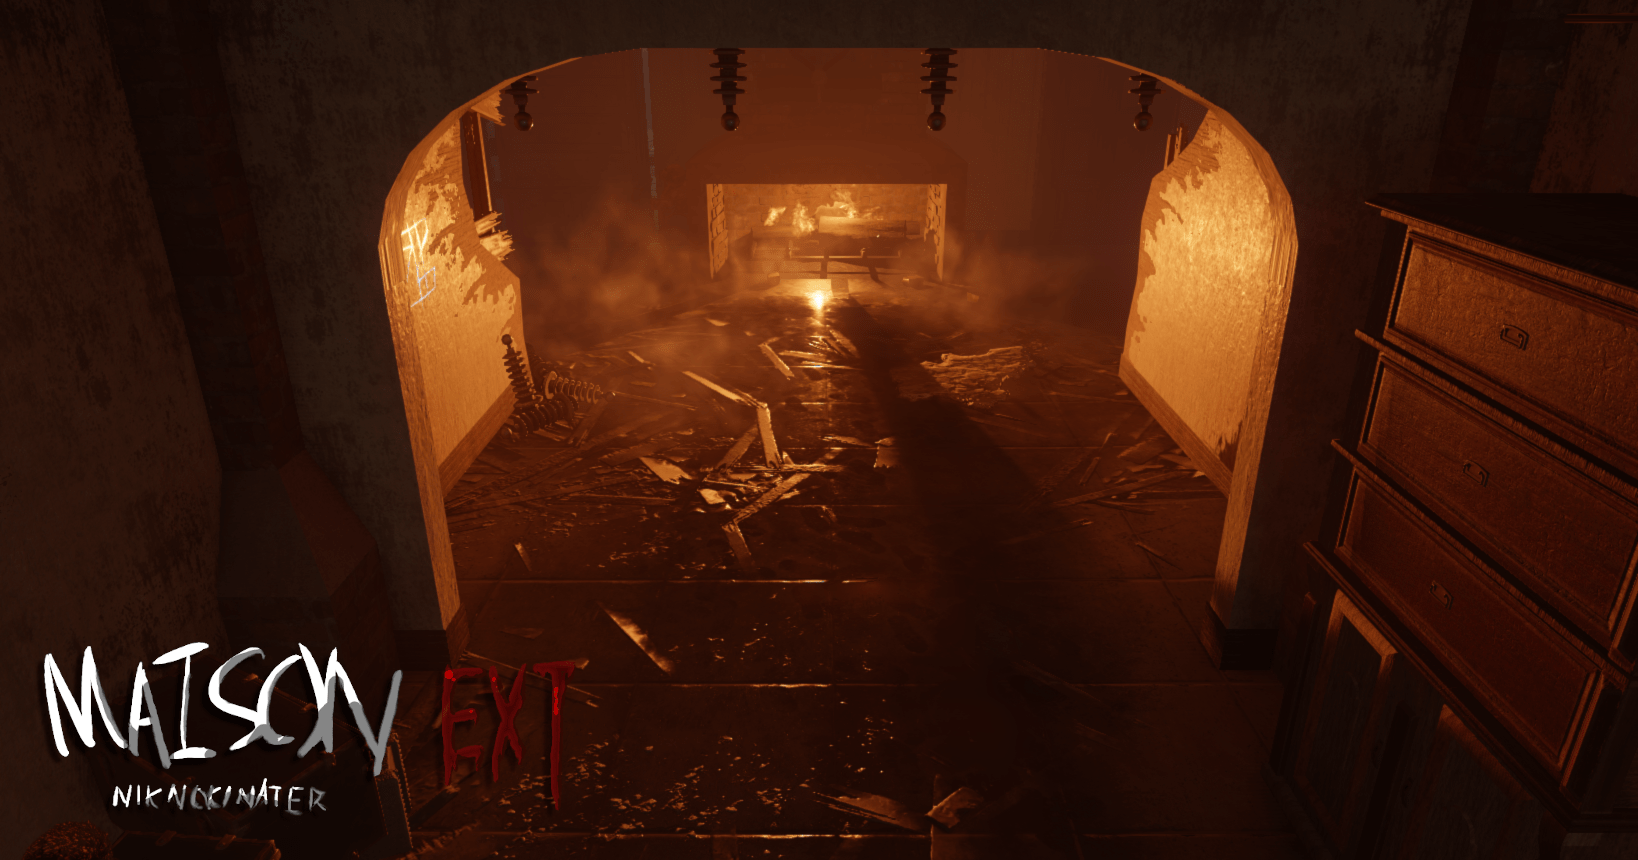
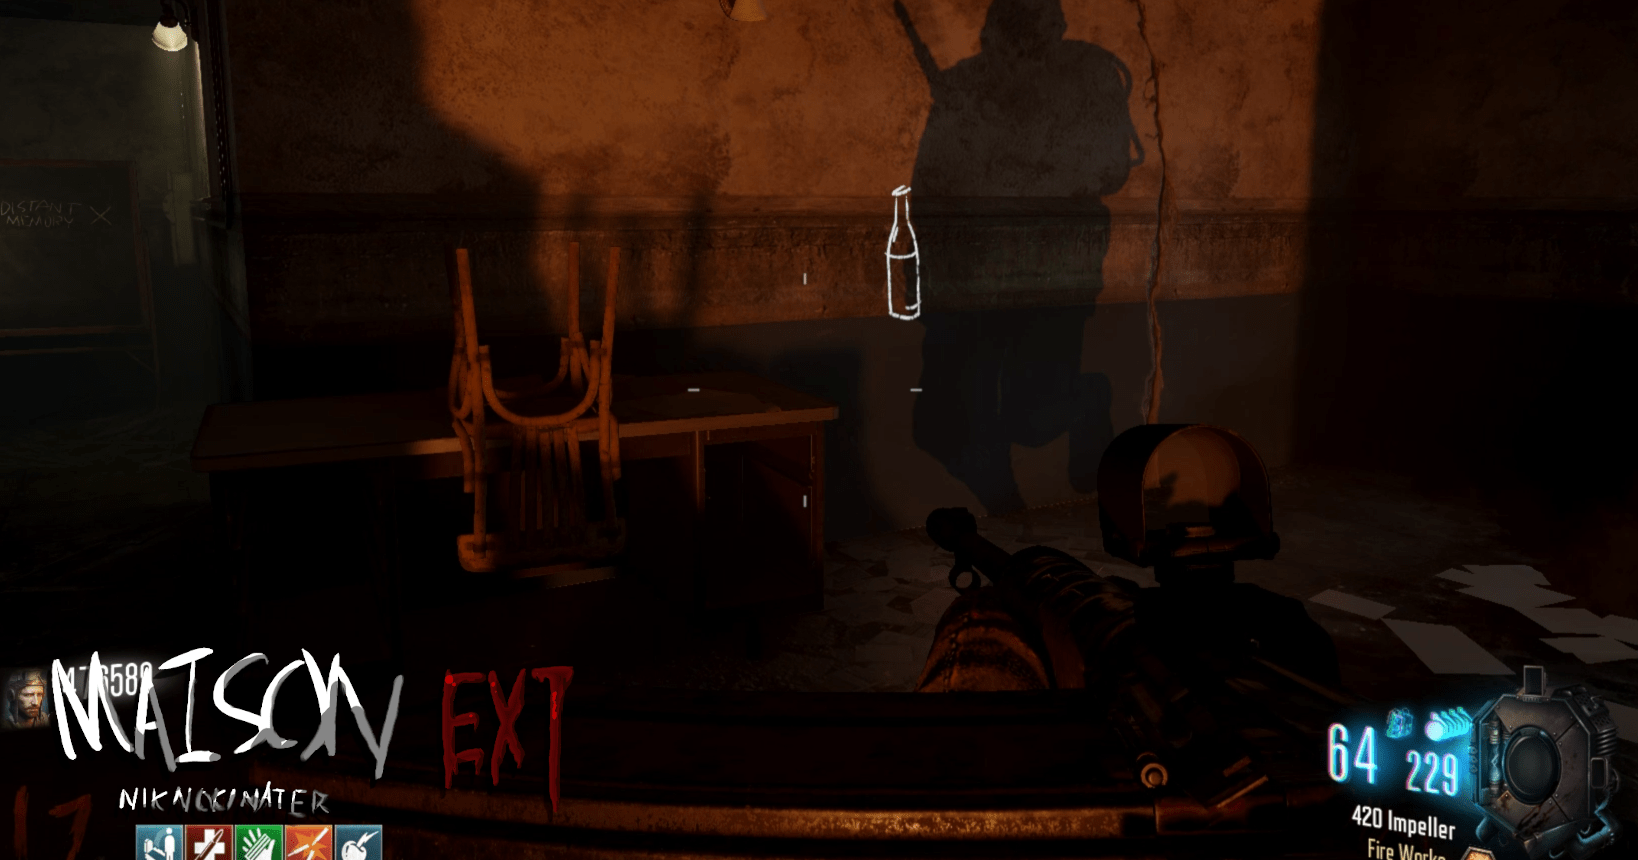
>FIREPLACE – Spawn area, has a fireplace 😉
>PARLOUR – Room containing teleporter, and car smashed in through wall
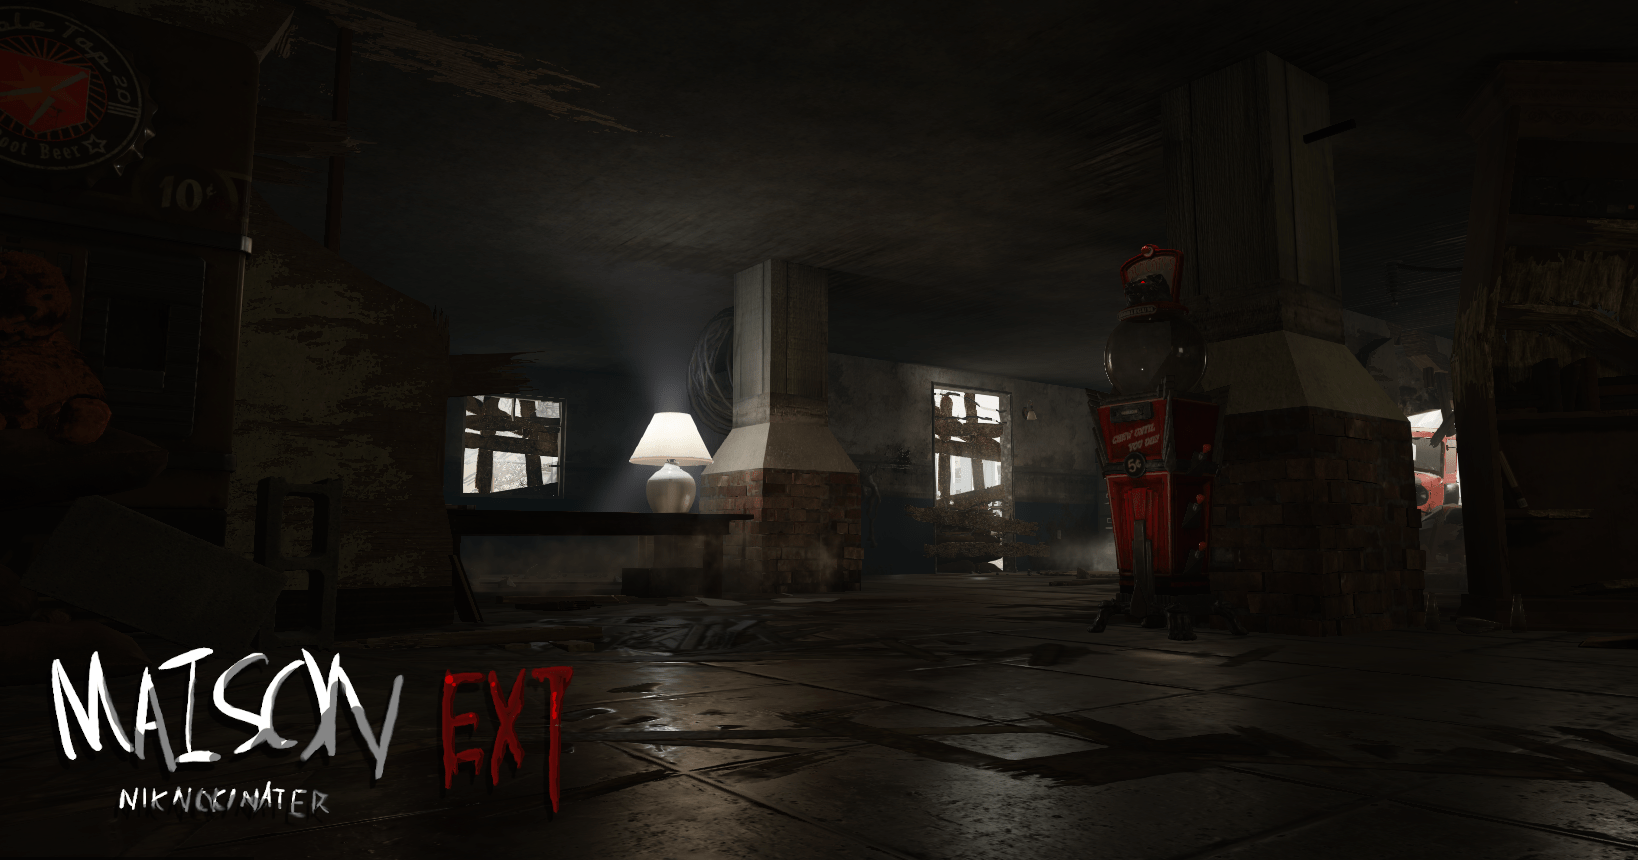
>ATTIC – Not really an attic, but top floor- the green-ish and poorly lit area with PPSH
>BASEMENT – Contains Pack-a-Punch
>DESCENT – The linear section between Fireplace and Basement with the Bowie Knife
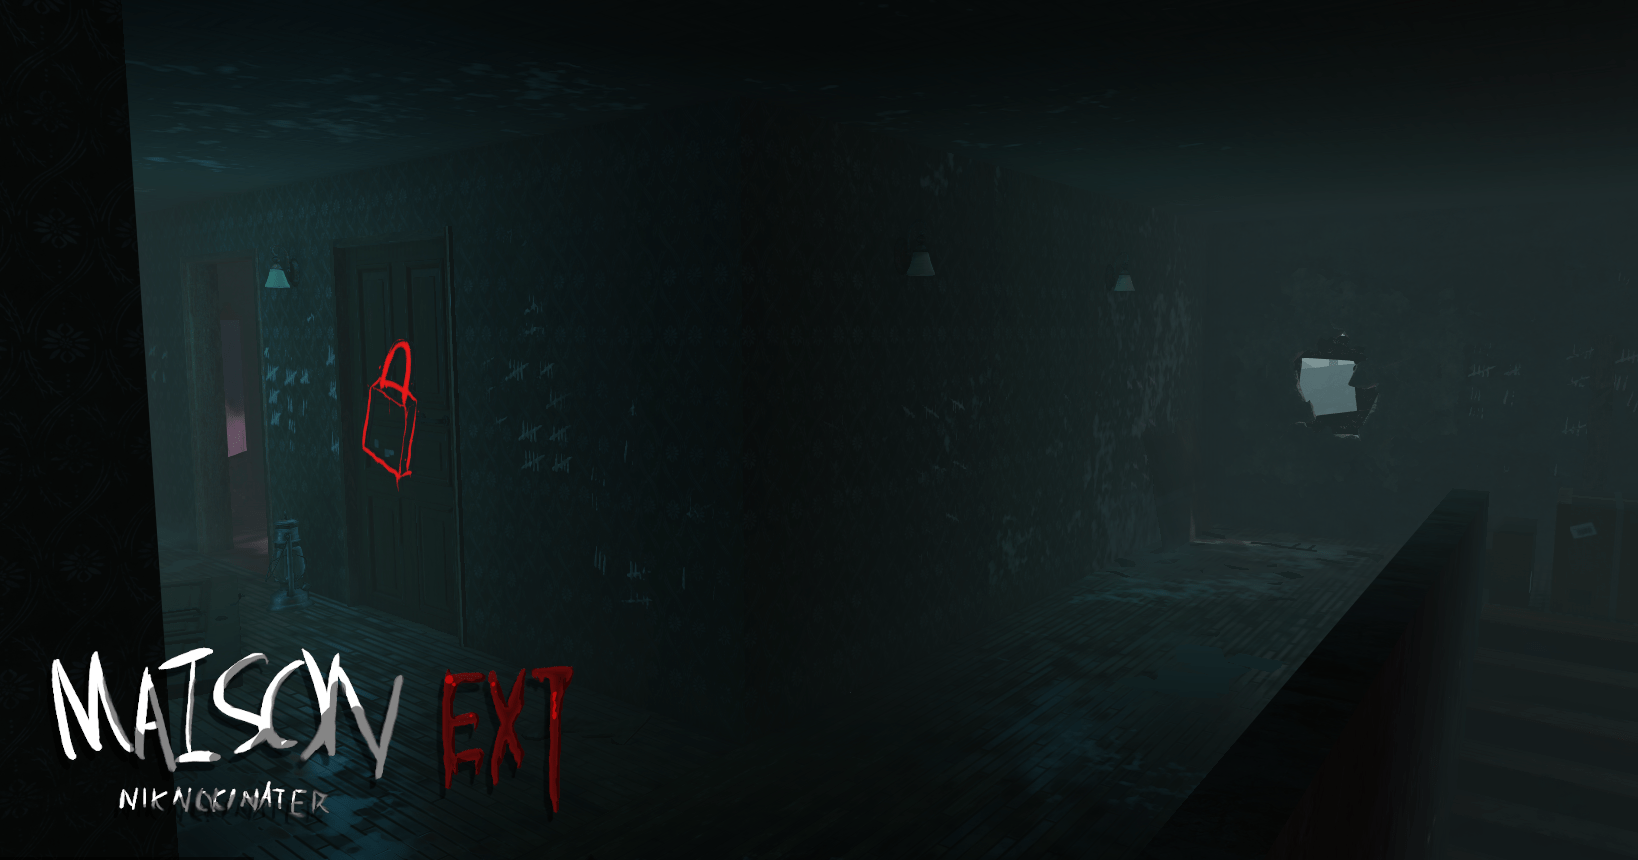
>DISTANT MEMORY LOBBY – The ground floor in Distant Memory (Step 4 only)
>DISTANT MEMORY ROOMS – The rooms and hall in Distant Memory (Step 4 only)
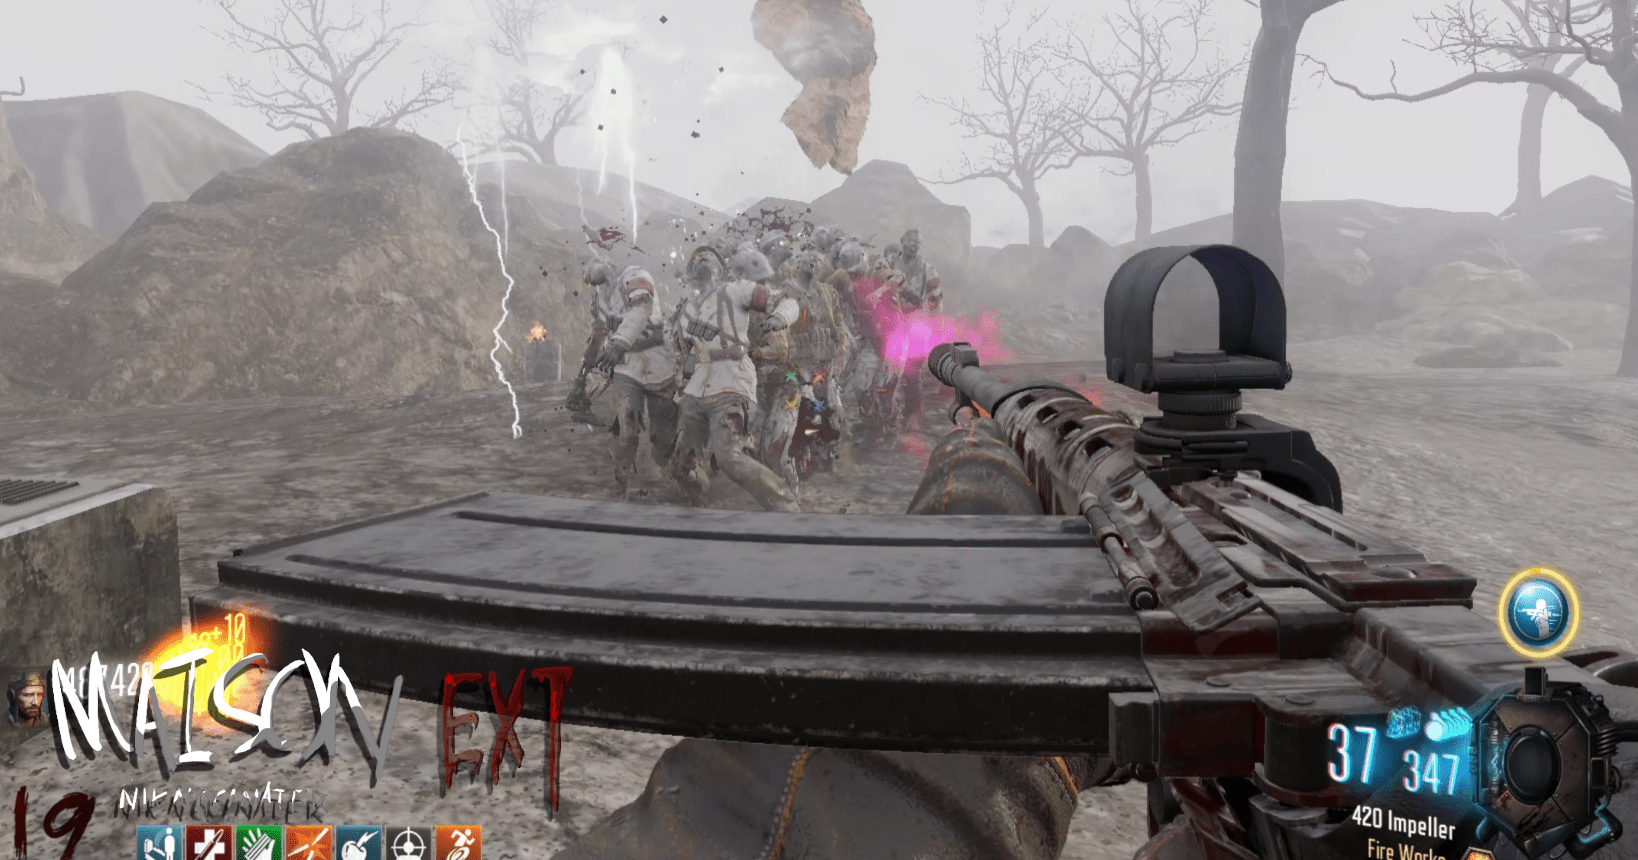
>BOSS ARENA – The, well… area where you’ll be fighting the boss (Step 5 only)
Steps
1 – Skeleton Closet (3 goals)
2 – Dying Wish (3 goals)
3 – Leave Me Be (5 goals)
4 – Distant Memory (5 goals)
5 – Eviction (6 goals)
These major steps require a round change after completion to begin the next one. There may be an additional round change requirement if Leave Me Be’s lockdown in started too late, but no worries.
Reward – Carpenter chalk (UPDATE #2 – Max Ammo chalk)
(1) Complete Teleporter
In order to complete the teleporter (located in the Parlour), you will need to acquire 3 parts.
There is always 1 in each of the first three areas, each with 3 spawn locations.
—–Fireplace | zappers – Across from the fireplace at corner of a center wall, across from the fireplace next to the wall before the zapper trap, and on the desk across from the Carbine.
—–Parlour | wire roll – In the corner beside the Grease Gun, hanging on the pillar next to the lamp table, behind the bookshelf.
—–Attic | power box – To the right against the barrier upon entering the room, leaning against boxes in middle passage of room near Grenade, beside Mystery Box Location.
(2) Teleport
Build the teleporter using the parts, and then activate it using the electrical box beside it with the power arrow pointing at it. All players are required to be alive and on the pad to initiate the teleportation.
(3) Return to Fireplace
After teleporting down, you will not teleport back up. You must buy away the debris to reach the top. Once you reach the top, the chalkboard will inform you that you’ve completed this step.
**Proceed to the next round**
Reward – Double Points chalk (UPDATE #2 – Fire Sale chalk)
(1) Wake up Teddy Bear
Simply interact with the teddy bear sitting on the chair next to the fireplace. It will turn into a radio, and then hide itself somewhere. Everybody will be teleported to the Basement.
(2) Find Correct Radio
As of now, 4 radios have appeared. 3 are decoys whilst 1 is the one you want- you need to find that one. Every time a decoy is interacted with, everybody will be teleported to the Basement. The correct radio will emit more than just radio static, and everybody will hear a sound cue (a laugh).
All spawn locations are in the Fireplace, Parlour, and Attic. Nowhere below ground.
—–Fireplace | radio – In desk across from Carbine, on top of cabinet beside zapper trap switch, and on the crate beside the chair the teddy bear was on.
—–Parlour | radio – Beside the Mystery Box, under the lamp table, on top of filing cabinet beside car, on high shelf of bookshelf, and on couch.
—–Attic | radio – At bottom of staircase between door and wall, between wall and tarped crate beside window by Speed Cola, to the right in front of barrier upon entering the room, leaning against wall by Grenades, and on box in corner by PPSH.
(3) Burn Radio
After you find the correct radio, pick it up and place it in the fireplace to complete the step.
**Proceed to the next round**
Reward – Max Ammo chalk (UPDATE #2 – Instakill chalk)
(1) Convince Teddy Bear
Fairly straightforward. At the start of this round, a teddy bear will come out of the fireplace and seat himself on the chair beside the chalkboard. Interact with him until he gives in.
The next four goals (goals 2 – 5) come in a randomized order.
Name of the goal here will be similar to the teddy bear’s initial line of dialogue.
(2) Catch Them If You Can
10 teddy bears will spawn and travel around the room. Shoot each of them with a bullet-based weapon to “catch”.
Each one follows a predetermined path in a straight line, and the last few will double or so in speed- I recommend taking out the ones with the shortest paths first.
All spawns are in the Fireplace.
All players will be awarded 500 points upon completion and because this isn’t a major step, no round change is required.
(3) Retrieve the Books
2 – 5 books must be retrieved from the Parlour area.
—–Parlour | book/binder thing – On lamp table, on chair across from Grease Gun, between filing cabinet and wall, next to teleporter between rubble and wall, behind pillar next to bookshelf, on floor in front of bookshelf, near door to the Attic across from couch, and on top of Double Tap machine.
Once all of the books are collected, a sound cue akin to that of a chuckle will play.
Interact with the teddy bear to place them beside it.
All players will be awarded 500 points upon completion and because this isn’t a major step, no round change is required.
(4) Clean the Bloody Handprints
Clean the bloody handprint scattered about the Attic using the bucket.
Retrieve the bucket from the shelf in Descent, always spawns there.
From there, go to the Attic and clean each of the bloody handprints. All 12 spawns are static and will be the same every game.
—–Attic | bloody handprint – Next to Speed Cola on trim, on ceiling across from Speed Cola before median, beside barrier next to tarped crate, on pillar in center of room, on box across from pillar, on wall just next to that same box, on median perpendicular to Grenades, on upper-most bit of cabinet, next to cabinet on Trim, next to chimney perpendicular to PPSH, above PPSH, and next to barrier perpendicular to PPSH.
Once all of the handprints are cleaned, a sound cue akin to that of a chuckle will play.
You must now throw the bucket down into the basement. The spot to do this is to the left if you’re walking out of the Jug room.
Tell the teddy bear you’ve finished, and all players will be awarded 500 points upon completion and because this isn’t a major step, no round change is required.
(5) Clear Out the Basement
Survive 1 round in the basement.
Now, before you begin- this part is on the harder side. The zombies will begin to rise from the ground, everybody will be locked in the Basement- no Jug room either. and PaP will be blocked off.
Once you believe you’re sufficiently prepared, everybody enter the basement and stay in the center in front of PaP, standing on the skull chalks.
If the sequence is not beginning
Unfortunately, the current round may need to be ended if it is either a dog round or there are no more zombies in queue/spawning. If the nuke chalk is flashing on the ground, the new round needs to begin.
Once the sequence has begun
Kill all of the zombies; the number scales per player. For each quarter of progress, 1 of 4 teddy bears will appear in front of PaP to watch.
When 50% of the zombies are killed, a Death Machine chalk will spawn on one of the pillars. The chalk cannot be saved, and will disappear at the end if not redeemed.
Upon 100%, the round will end, everything will be unblocked once again, and a Carpenter chalk will appear in the Basement for your troubles. The riser spawns will return to inactivity.
All players will be awarded 500 points upon completion and because this isn’t a major step, no round change is required.
End of randomized goals.
Step 3 is now complete.
**Proceed to the next round**
Reward – Firesale chalk (UPDATE #2 – Free Perk chalk)
(1) Repair Teleporter
After speaking to the teddy bear, the teleporter must be used. However, it is not functioning- a replacement power box must be located and installed.
—–Basement | power box – Shelf across from PaP, shelf across from Thompson, shelf in corner to left of PaP if facing PaP.
Install the power box at the location of the old power box.
(2) Teleport
Use the teleporter, all players are required to be alive and on the pad.
Everybody will be teleported to Distant Memory, specifically the Lobby.
(3) Retrieve Book
Players must progress through this area into the rooms and find the key to unlock the locked door.
—–Distant Memory Rooms | summoning key – In room blocked by bed: on shelf in corner, beside nightstand, on nightstand. In room blocked by corrugated metal: on table to the left when entering, on shelf, on blanket.
Use the key to unlock the locked door (visually has a bloody glowing lock on it).
From there, collect the floating directly across (this was actually the book the teddy bear was looking for earlier ohohoh).
(4) Return to Parlour
Go to the table blocking the front doors in Distant Memory Lobby, all players are required to be alive and in front of it to teleport. You will not return to this location.
Note that the zombies will not be dying around you here, so keep your guard up.
(5) Assemble Teddy Bears
Upon returning, the power will noticeably be disabled. You will not be able to buy any perks until the end of the step (although you can still PaP and use the trap).
Head up to the [now considerably dark] Attic, to interact with the teddy bear, who has relocated.
He will instruct you to “Get his friends into position”.
He’s referring to each teddy bear on the 4 perk machines (3 if you’re in solo and used all of your revives ohohoh, mad lad finna float) in front of the 4 perk machines.
You’ll need to give them each a nudge by knifing them. Each time you knife them, they’ll move closer to the teleporter, their ultimate destination.
Quick Revive -> [Fireplace] corner across from Gewehr, [Fireplace] next to fireplace in front of chair, [Parlour] beside filing cabinets.
Juggernog -> [Basement] On sandbags just outside of Jug room (where the bucket was thrown), [Descent] on chair next to barrier, [Descent] on shelf (shelf above where the bucket was obtained from), [Fireplace] on top of shelf next to trap switch, [Parlour] on couch.
Speed Cola -> [Attic] Near Grenades, [Attic] will poof away but it will appear in corner of staircase at top, [Parlour] near Mystery Box.
Double Tap -> [Parlour] Next to pillar on Grease Gun side, [Parlour] on bookshelf, [Parlour] in front of table with lantern on it near teleporter.
**Proceed to the next round**
Rewards – All perks, inevitable Ending
(1) Write It Yourself
Simply knife the board, and Eviction will begin.
(2) Teleport
Everybody get on the teleporter pad and teleport to the Boss Arena. Get everything you need, because there’s no going back.
(3) Barrels
Upon entering the Boss Arena, the current round will become infinite. A number of zombies (scales relative to player count), must be killed.
For every third of the total kills required, a fire barrel burning teddy bear on a barrel will be unblocked at each end of the arena.
Knife each barrel (because why not) teddy barrel, and the boss will appear.
Be sure to dodge his teddy bear projectiles and inflict damage using bullet-based weapons) as noted earlier).
At the end of the first encounter, a Max Ammo will drop at his feet.
If you run out of ammo before you spook it off, keep an eye out for small teddy bears flying overhead- you can purchase grenades (unless you have Widow’s Wine) the FG42 at a fence post and damage them that way, spawning Death Machines at the center of the arena.
(4) Perk Machines
Avoid the eletric teddy bear scattered about the ground. They inflict damage, and will increase in number as you progress through the rest of the boss fight.
At this time, 4 perk machines will fall. They must be activated in an order that is randomized every game. Upon success, the boss will appear again.
Beward the appearance of extra obstacles.
(5) Locks – You’ll have an amount of time to unlock each of the 3 locks on each of the boulders.
Solo, you’ll have 20 seconds.
2 players – 10 seconds.
3 or 4 players – they’ll need to be activated at the same time.
3 of the boss will spawn and begin hurling their projectiles that will now travel more quickly. Take out each of them to finish the boss off.
Collect your perks (or don’t), and teleport to your salvation.
This is my YouTube channel if you want to see me poke at things
https://www.youtube.com/user/nikosmoebro
Screenshots